Is your zipper breaks broken? How to quickly bring it back to life—without unnecessary stress or trips to the repair shop
If the zipper breaks: on your shoes comes apart, many people think they’ll need to replace the whole zipper or take the shoes to a repair shop. In reality, in 90% of cases the issue can be fixed in one minute — you just need to correctly tighten the slider, instead of trying to “repair the zipper” randomly.
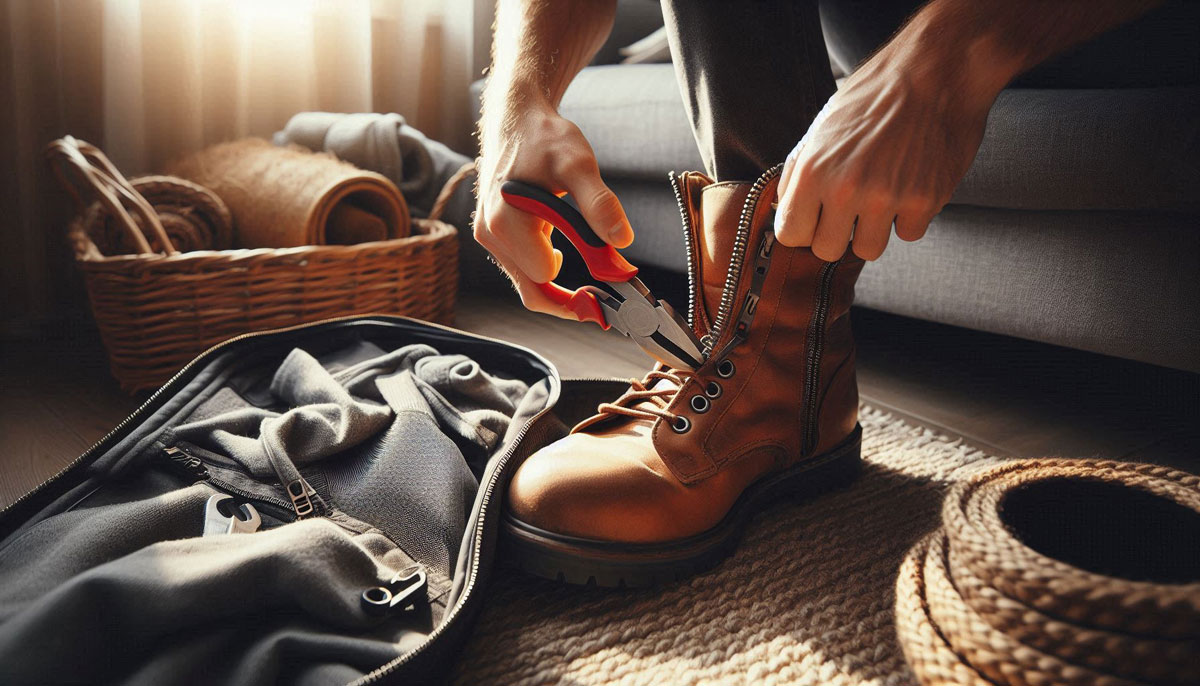
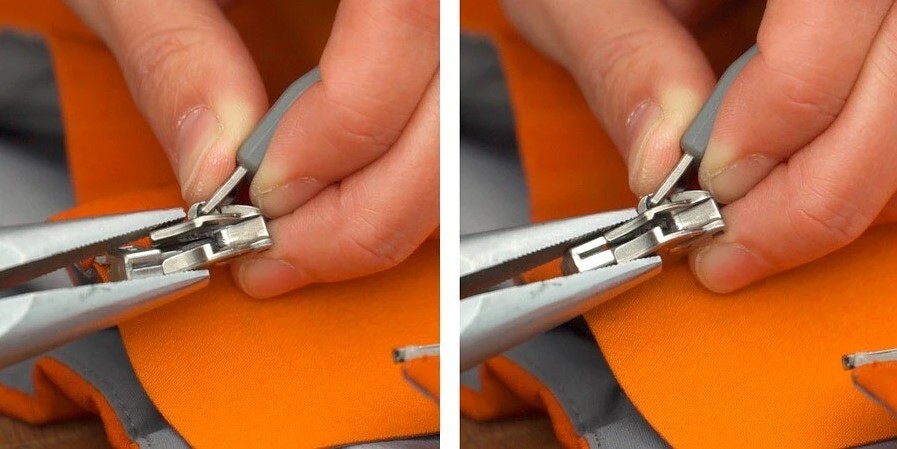
You can tighten the slider literally in a minute, but it’s important to do it in the correct spot: not on the sides, but exactly in the area where the teeth meet. Pressing in the wrong place breaks the slider — and I see this in the workshop regularly.
Even though I already had an article about how to tighten the slider, I realized many people still need this explained again — calmly, clearly, without myths and “life hacks” that only ruin shoes.
Here is the full story, examples, dialogues, and nuances so you can repeat the repair at home without damaging the zipper.
A client brings shoes and asks: “The Zipper breaks split — is it done for?”
It always starts the same way. 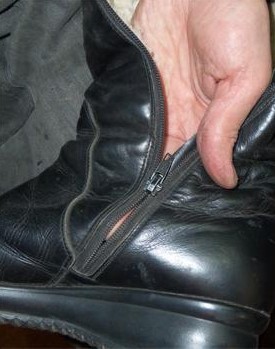 Every season people come to my workshop with boots or bags where the zipper has completely separated:
— “I can’t wear them. I guess the whole zipper needs to be replaced?”
I take the shoes. One minute later — I hand them back.
The person looks surprised:
— “That’s it? Seriously? You’re a magician?”
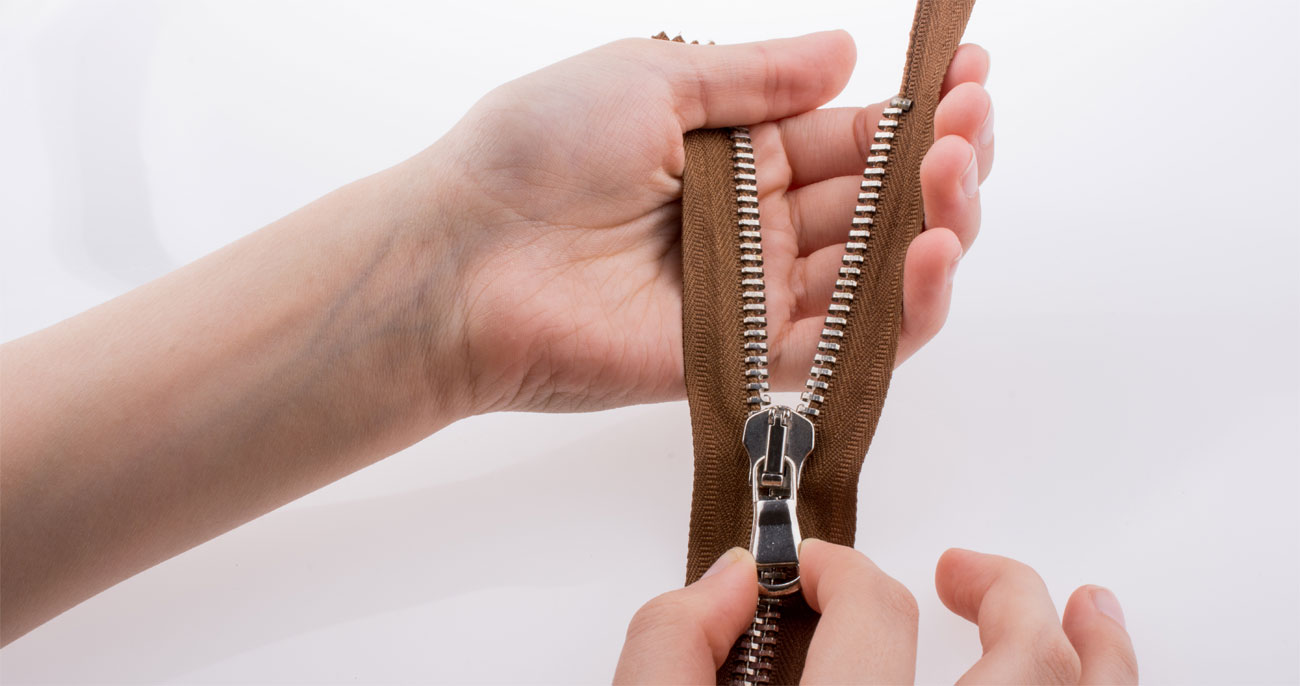
But the secret is simple: the zipper itself is usually fine. The teeth are intact. The problem lies in the worn inner “channel” of the slider, which no longer squeezes the teeth tightly.
To restore the zipper, you only need 30–60 seconds and a little precision.
Why a zipper comes apart on both new and old shoes
There’s no mystery here. Just facts proven by hundreds of repairs:
- The slider has loosened — its walls spread slightly, and it no longer locks the teeth.
- The inner channel of the slider has worn out — the metal wears down even on high-quality hardware.
- Someone pressed the slider in the wrong place, damaging it even more.
- The zipper was lubricated with soap or candle wax, causing it to collect dirt and jam worse.
That’s it. No “bad zippers” or “cheap hardware” — in most cases it’s just the slider.
A conversation with a client who could have done it themselves
The scenario repeats:
— “Do you have the Internet?”
— “Yes.”
— “Then why didn’t you look up the solution?”
— “Well… I didn’t think of it.”
I smile, show how to tighten the slider, and remind them: it can be done at home in a couple of minutes.
But many people are afraid:
“What if I can’t do it? What if I make it worse?”
That’s why below I explain precisely where you must not press — and where you must.
Before showing the correct method — here are the common mistakes
I’ve seen dozens of “repairs” done by DIY enthusiasts. And they almost always make the same fatal mistake:
❌ Mistake #1: Squeezing the slider from the sides
This completely destabilizes the mechanism. The slider stops aligning the teeth and breaks after a few moves.
❌ Mistake #2: Pressing on the top
This can crush the channel and distort the geometry — after that even a professional can’t close the zipper.
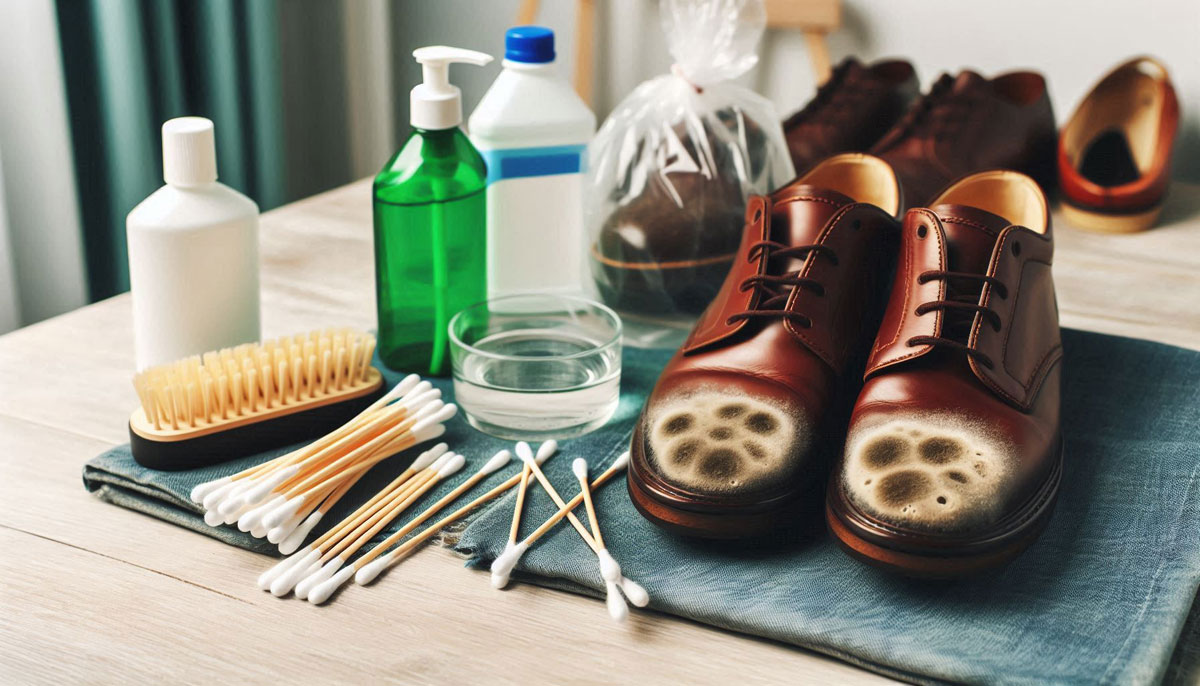
❌ Mistake #3: Lubricating with random substances
- soap
- candle wax
- hand cream
- petroleum jelly
All of these collect dust. Within a week the zipper starts “living its own life”, jamming, scratching the fabric, and breaking apart.
❗ Can you lubricate a zipper?
Yes, but only with machine oil and only in rare cases when the slider is too stiff.
Just a drop. Smooth sliding without stickiness — that’s what you need.
Everything else is harmful myth.
Why many people repair zippers incorrectly
The internet is full of advice — but most of it is myth:
❌ squeezing the slider from the sides;
❌ pushing hard “to be sure”;
❌ lubricating the teeth with soap, wax, creams;
❌ using craft knives, needles, or thin pliers.
Consequences:
— cracked slider,
— damaged teeth,
— full zipper replacement needed.
Correct zipper repair is always the same:
gently tighten the working part of the slider — the part that brings the teeth together.
The video tutorial is already on YouTube
I filmed it back in spring, showing different types of problematic zippers. I didn’t have time to upload it — but now it’s available.
Watch it. And most importantly — remember what you saw so you can use it later.
Why many people still don’t dare to repair it themselves
I’ve been running this blog for many years and I’ve noticed: the information exists, the desire exists — but fear is stronger.
People are afraid of ruining their shoes.
But once they try — they write comments:
- “First two tries were too weak, the third time it worked!”
- “Pressed in the correct place — zipper works again!”
- “Didn’t wait for my husband, fixed it myself — thank you!”
These are regular readers, not professionals. And they succeeded — so will you.
Don’t repeat others’ mistakes
If you remember just three rules:
- Do not press the slider from the sides.
- Do not lubricate with anything except machine oil.
- Do not trust harmful “tips” from the Internet
…you’re already 99% protected from zipper failure.
And if you also watch the video from the older article — you’ll be able to fix such issues in a minute, without a repair shop and without unnecessary expenses.
Conclusion Zipper breaks
When a zipper comes apart — it’s not a reason to throw away shoes or clothing. In 9 out of 10 cases the issue is a single loosened point of the slider, and it can be fixed at home in minutes.
I’d love to know: did this updated guide help you?
Were you able to restore your zipper yourself? Leave a comment — such stories inspire others to try and save their budget.
When you know exactly how to tighten the slider — the zipper will serve you for a long time.