How to Replace Spare Heel Caps Without Going Crazy: Tips from Practice
 Hello! If you’ve ever wondered how to change the heel caps yourself, especially if you have those “gift” heel caps that came with your shoes, then you’ve come to the right place. Today I’ll tell you how to do it simply and without any problems, which, by the way, many daredevils face.
We’ll talk about how to replace spare heel caps (that is, remove the old heel cap), what to do if the pin gets stuck, and how not to lose the new heel cap the day after installation. So, let’s get started!
What’s so good about spare heels?
The main advantage of spare heels is that they fit your shoes perfectly. You don’t have to look for something suitable in stores – just take them out of the box and replace them. This will save you time and money on visiting a shoe repair shop. Plus, such a replacement takes only a few minutes!
Problems with replacing spare heels: what should you be wary of?
Many people think: “Well, what’s so difficult, take a pair of pliers, pull out the old heel, put on a new one – done!” But it’s not that simple! In reality, everything is a little more complicated, and here are the pitfalls you encounter along the way:
- I can’t remove the old heel.
- The pin from the heel is stuck in the heel and doesn’t want to come out.
- The new heel falls out, despite all your efforts.
Sound familiar? Don’t worry, I’ll tell you how to solve this, and at the same time I’ll share a couple of life hacks that will help you cope with even the most stubborn heels.
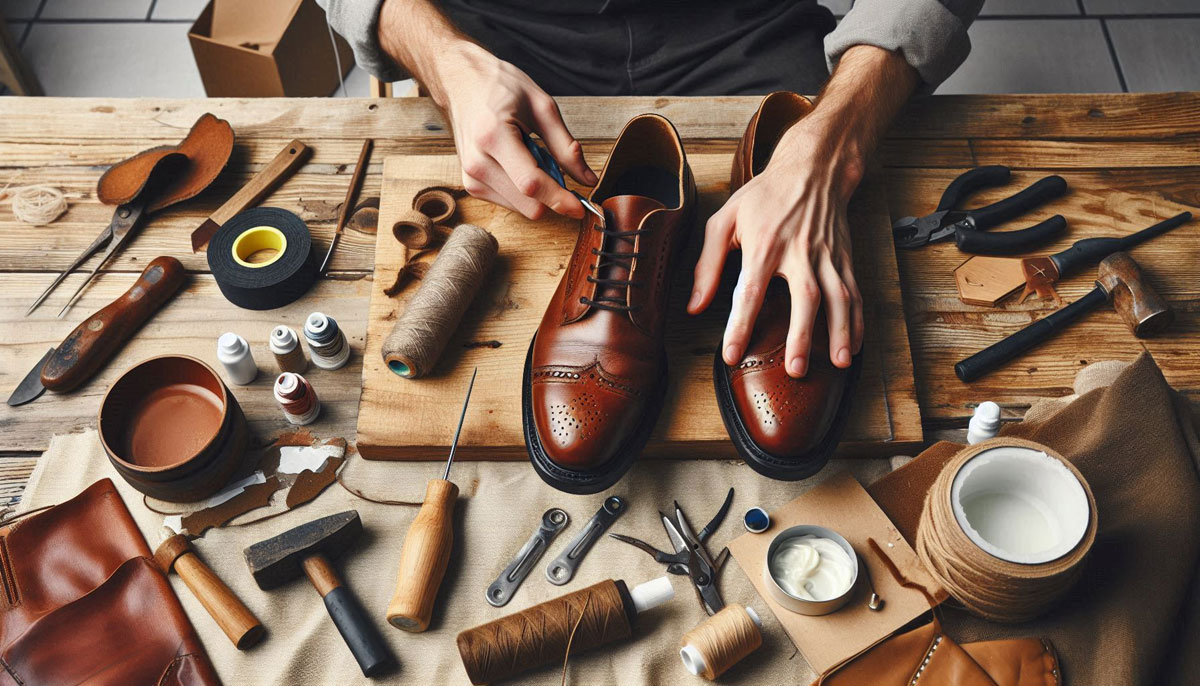
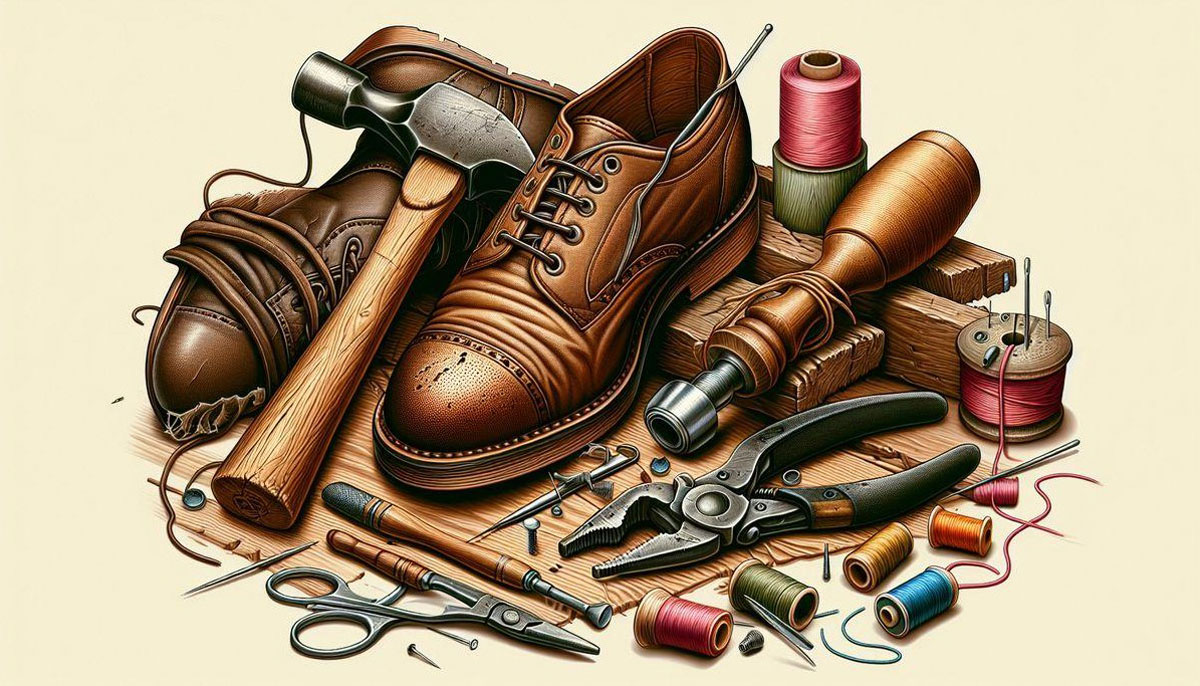
Preparing to replace a spare heel: what do you need?
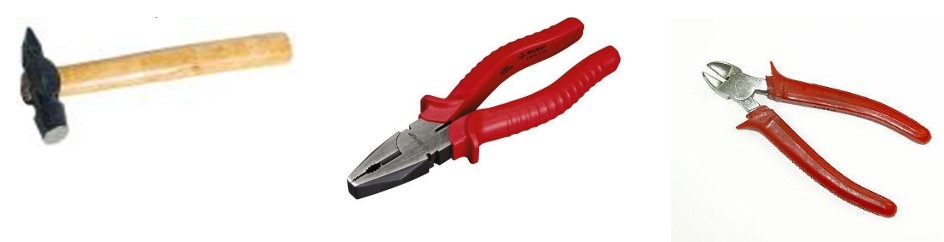
For a successful repair, you will need the following tools, which you may already have at home:
- Hammer – to carefully hammer in the new heel.
- Pliers (flat-nose pliers) – to remove the old heel.
- Side cutters or nippers – in case the pin resists.
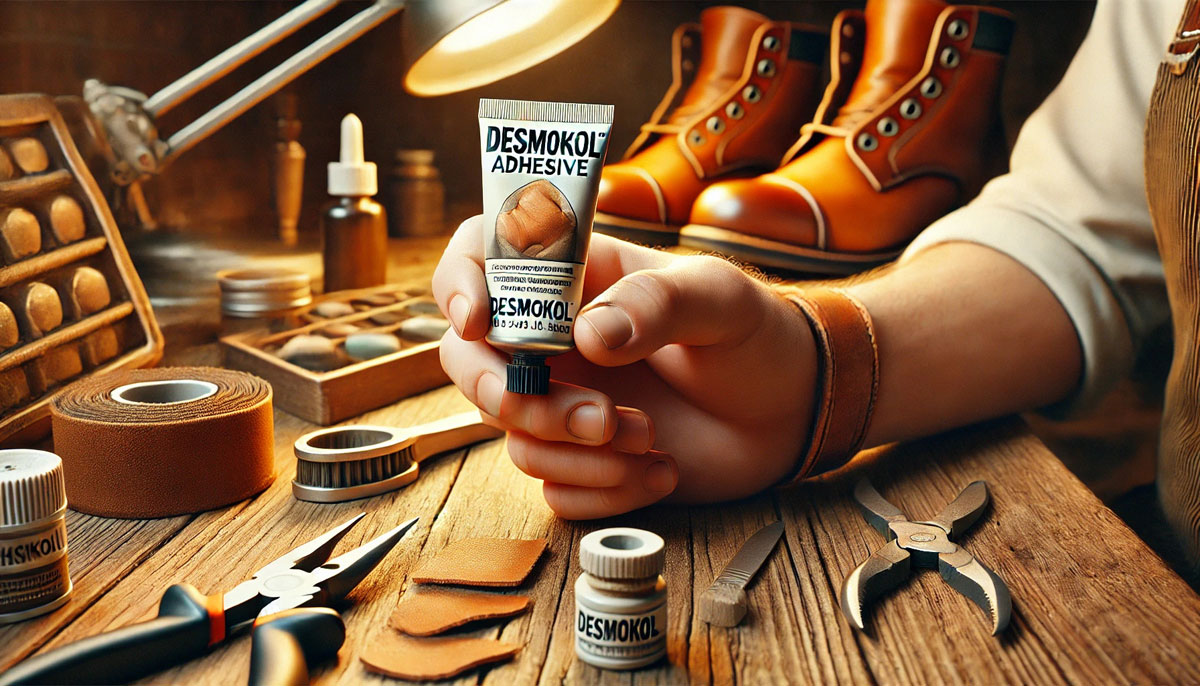
- Glue (nairit, dismacol or something similar) – to better fix the new heel.
- Block or something similar – for support if there is no shoe presser foot.
- Spare heels – of course, they will be the main characters of our today’s repair.
Now that you have everything at hand, we can get started.
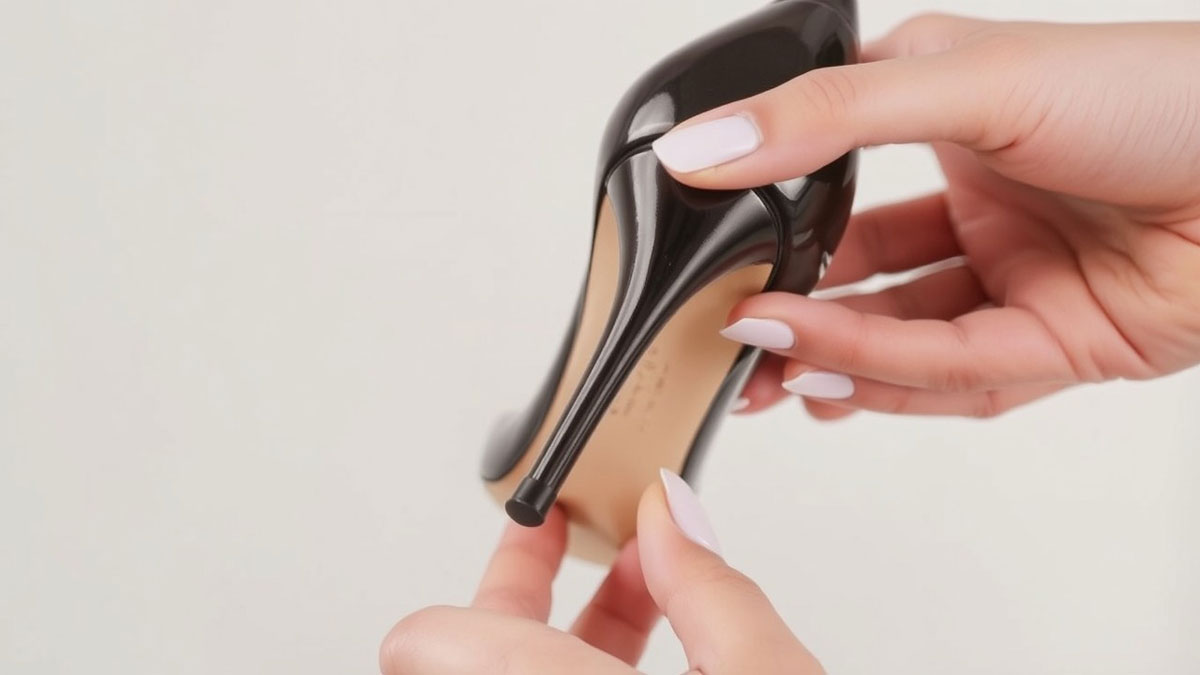
How to remove the old heel cap from a stiletto heel: what to do if the pin is stuck?
Step 1. Removing the old heel cap
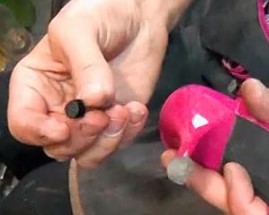
Often it all starts with a problem: how to remove the old heel cap? And here the main enemy is the pin on which the heel cap is held. There are situations when clients come to my workshop asking me to remove this pin. They suffer for hours, trying to move it from its place, and the result is only a disfigured heel.But the trick is that it’s not that hard if you know the right approach.
So, take the shoe in one hand and the pliers in the other. With the ends of the pliers, grab the old heel cap and start twisting it a little, gradually pulling it out. Sometimes everything goes smoothly, and the heel cap comes out without any problems. But more often, the plastic breaks, and the pin remains in the heel like a glove.
Step 2. How to pull out a stuck pin
This is where the fun begins. If you try to pull out the pin with pliers, you can simply erase everything that you can grab onto. Plus, there is a high probability of damaging the heel surface, which will complicate the installation of a new heel cap.
For this case, we will need side cutters. Each pin has a cap (unless the heel is worn to the point that only the bushing remains). The side cutters carefully pry the head of the pin and lift it slightly. Then, gradually twisting, we take out the pin. The main thing is to ensure that the heel surface remains smooth and undamaged.
Installing a new spare heel cap: how to avoid problems?
Step 1. Trying on a spare heel cap
Now that the pin has been removed, it’s time to try on the new heel cap. It is important that it fits in shape and size, and that the pin fits tightly into the heel bushing. If the heel cap is loose or sags, you will have to make some adjustments.
You can use glue here. Apply a little to the pin at the base of the heel and lightly sand the surface of the heel for better adhesion.
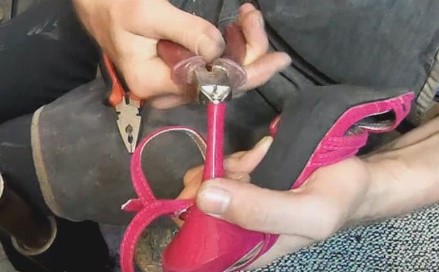
Step 2. Find a support for hammering the heel
Now we need a stop. If you have a shoe presser foot – great! If not, something similar will do: an inverted chair, a block, or something hard to rest the heel on. Insert the new heel into the sleeve and lightly hit it with a hammer.
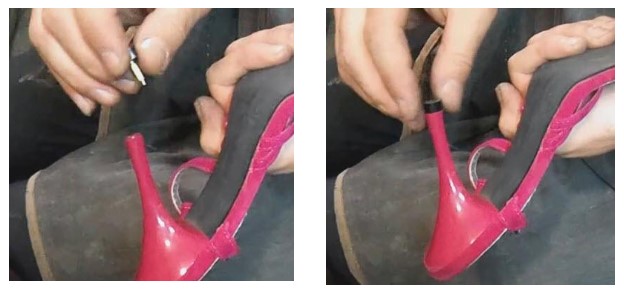
Step 3. Hammer the heel
Do not rush to hammer the heel all the way in. Sometimes it may start to unroll, and you will have to straighten it with pliers. Drive the heel all the way in, controlling its position so that it is installed evenly. And remember: as the pin goes deeper, it will be increasingly difficult to turn the heel, so proceed with caution.For extra security, you can coat the pin with glue before final installation.
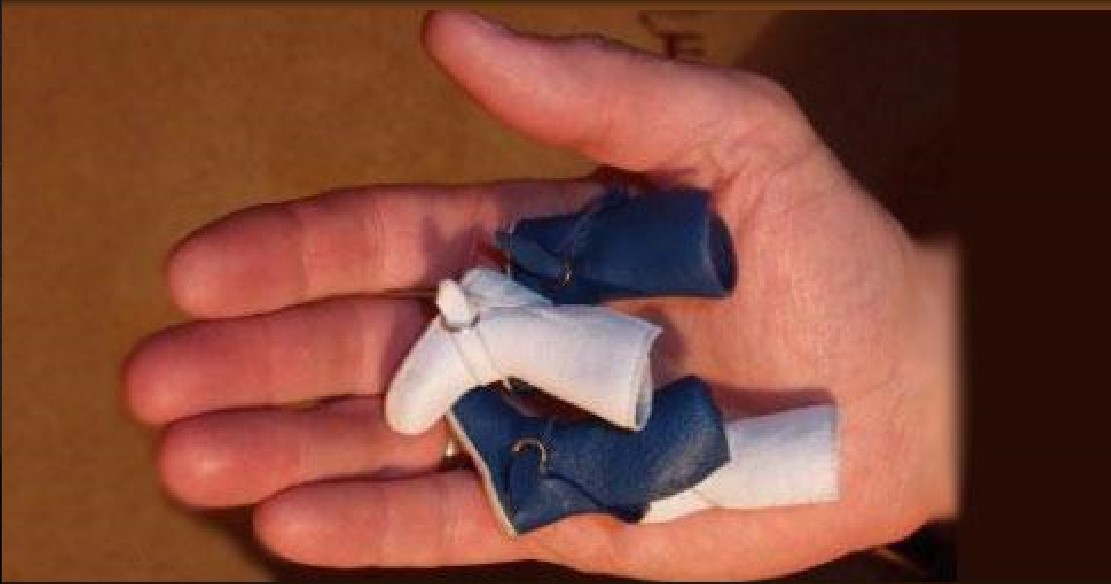
Spare heels are also available for other heels.
If you have such shoes, you should use them too.
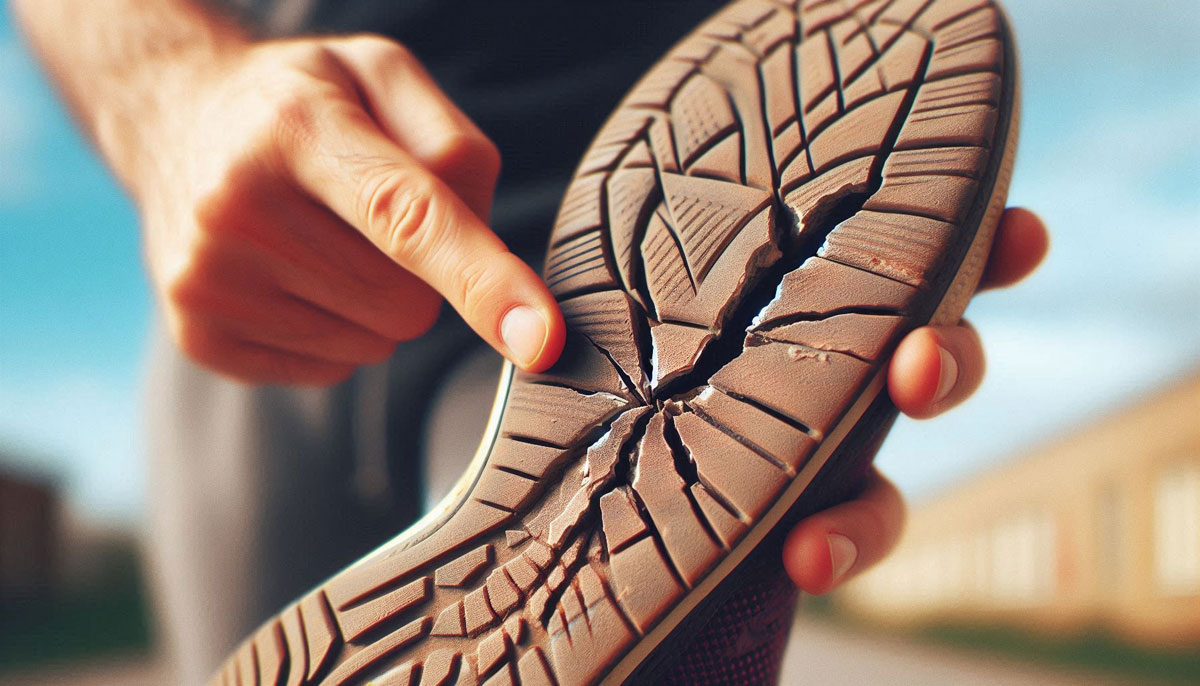
Signs that it’s time to change the heels
You’ve probably noticed that with worn heels, your shoes start to sound completely different. Here are the main signs that it’s time to change your heels:
- Your heels are starting to make a loud clacking noise.
- You see obvious signs of wear on the heel.
- The kit includes spare heels – it’s time to use them!
Step-by-step instructions: replacing spare heels
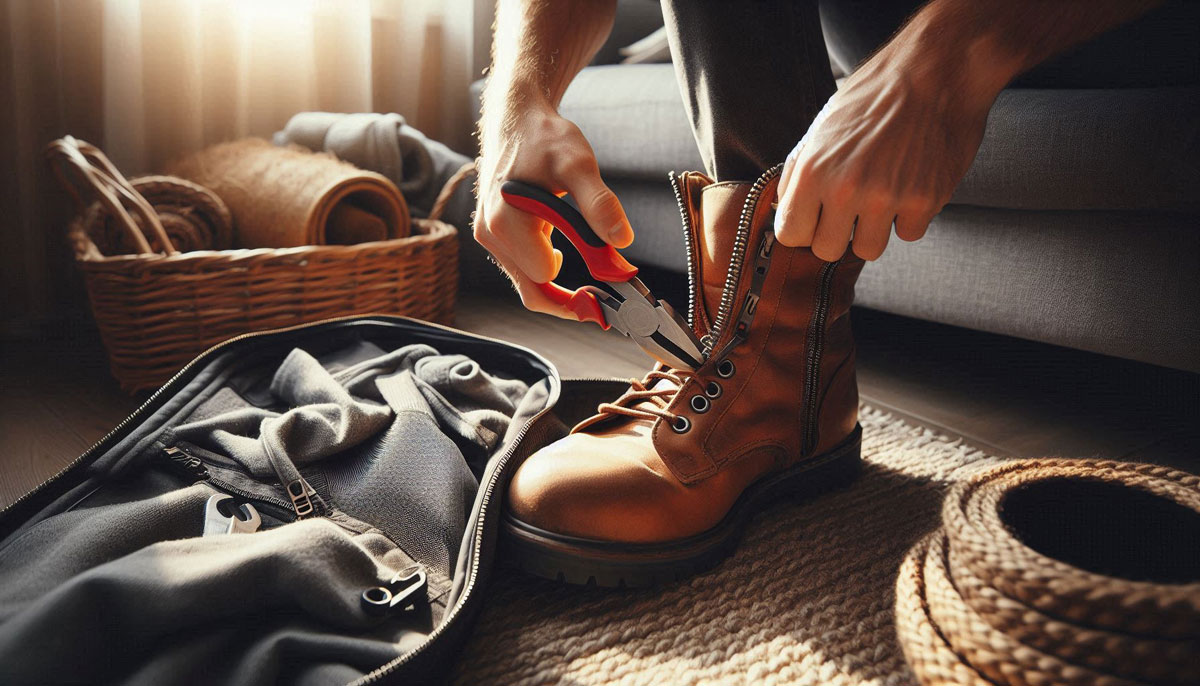
Step 1. Remove the old heel
The first step is to get rid of the worn heel. In most cases, this can be done with pliers. Grab the heel, turn it slightly and gently pull it out. If it doesn’t budge right away, you can rock it a little in different directions.
Step 2. Clean the installation site
Once the old heel has been removed, it’s important to clean the hole for the new one. If there are any old glue or dirt left, use a knife or an awl to remove it all. This is important so that the new heel fits evenly.
Step 3. Installing the spare heel
Now we have reached the most pleasant part – installing the new heel. Spare heels usually come with small nails already attached. You just need to insert the heel into the hole and carefully hammer it in. Do this carefully so as not to damage the heel. This is usually enough, and the heel is firmly in place.
Step 4.Checking the result
When everything is installed, be sure to check how the new heel is holding up. Tap your heel on a hard surface, check for any play. If everything is fine, congratulations, you have just repaired your own shoes!
Conclusion: how to avoid mistakes and extend the life of your new heel. replace spare studs on heels
If you did everything right, your new heel will serve you well and for a long time. Here are some tips on how to extend its life:
- Avoid walking on rough surfaces, such as asphalt or concrete – they quickly wear out the heels.
- Use heel protectors if you plan to walk on such surfaces often.
- Check the condition of the heels regularly – the sooner you notice wear, the easier it will be to replace them without unnecessary problems.